Showing posts with label Dragon Con. Show all posts

Wednesday, September 9, 2015

DDTv3: The 3D Printed Nylon-Kevlar Combat Robot

End of V2

I didnt have a chance to write up the Bot Blast 2015 event report earlier this year July, but if I did I wouldnt actually have much to say. Neither DDT or Silent Spring did very well and amounted for a total W-L of 2-4. Furthermore, DDT's frame was done for and I saw this opportunity to revisit some of the design creeds that I'd been touting for for the past year such as the "big weapon entertainment" and "indirect drive". These concepts are good for entertainment value and long-term reliability but are not necessarily the key to win fights. With a bit of TV appearance, I had a target on my back and many builders would love a chance to prove themselves against one of the "cream of the crop" robot builders as described by the Battlebots founders. I dont mind this one bit, but if this is the case I better live up to the hype. And so starting with DDT, I will evolve each robot in my fleet.

A New Design

DDT v3 Isometric View

Recently, Charles purchased a Mark One 3D printer from the company Mark Forged. This printer is unique because it has the ability to embed CONTINUOUS strands of fiber (fiberglass, kevlar, carbon fiber) within each layer of its print. Although it cannot place fiber in the vertical build axis, this is a monumental improvement in tensile strength. In addition, it prints nylon as its base material, which is mechanically superior to ABS in our application. To further demonstrate the capabilities and applications of their technology, I have elected to print DDT as a nylon-kevlar unibody.

DDT v3 Unibody CAD

Designing for a unibody frame is a bit challenging because many details about the parts, their connections, and their assembly order must be known ahead of time. CAD became an invaluable tool in this process; each part was modeled with excruciating detail and a detailed assembly order was developed for the rear component bay. I fully realize that this design is not optimal for 3D printing and perhaps I can explain in another post if people are interested. The reasoning for the design of the trusses were add-ons to stiffen long or thin features. A better design would have made the robot more blocky but would have been aesthetically boring in my opinion.

DDT v3 Internal View

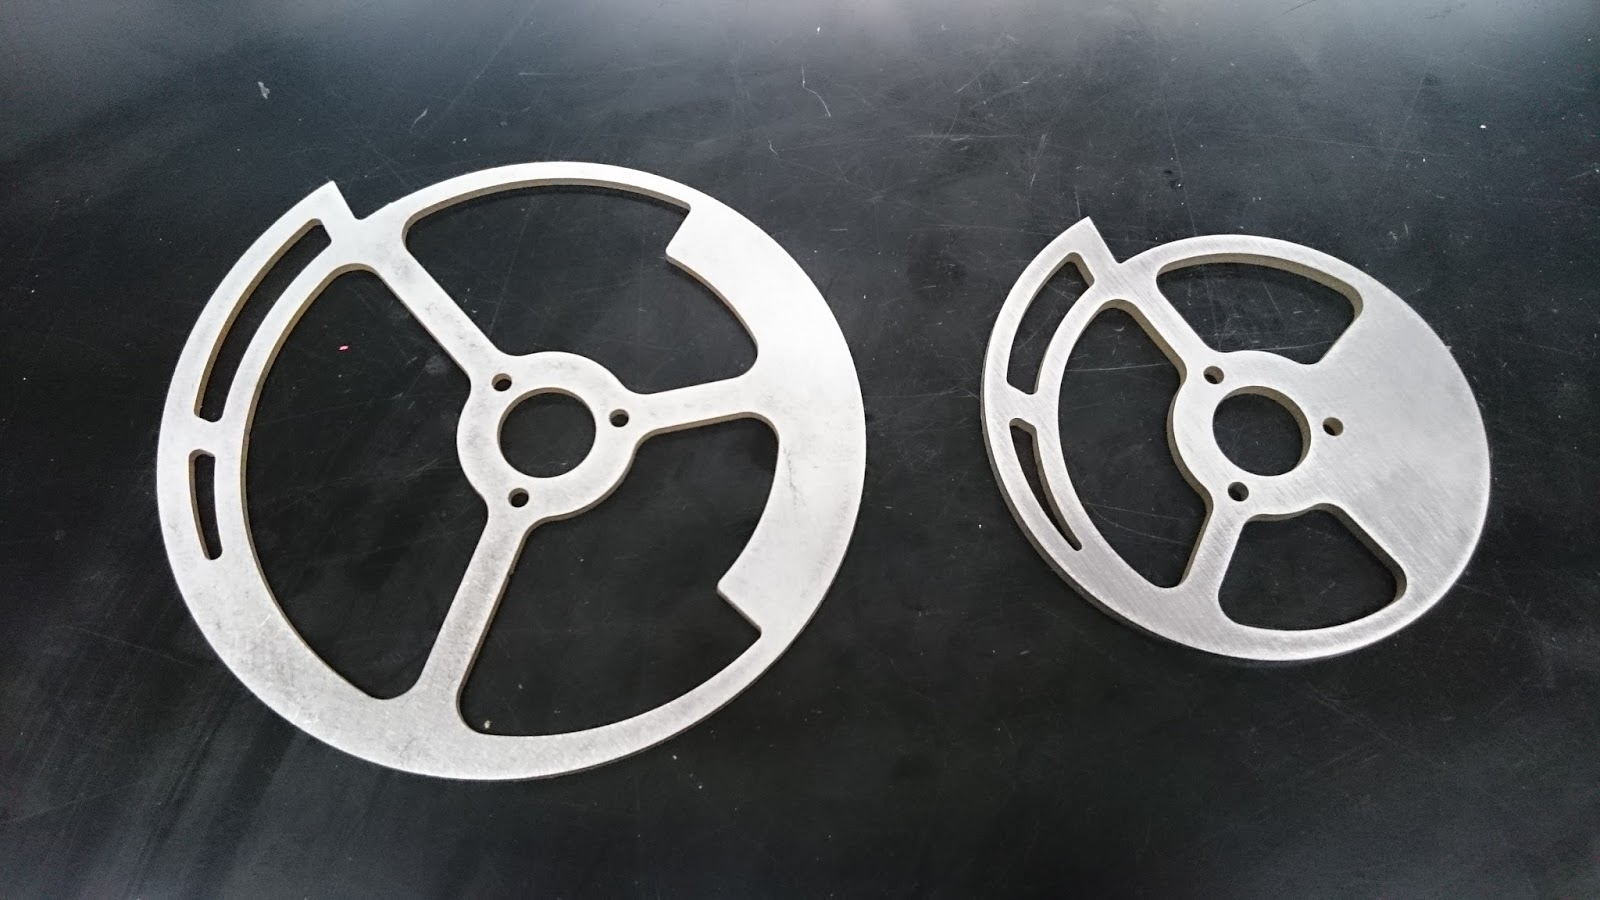
DDT kept its unique shape and trademark "huge-ass blade" but with a few modifications. First, the blade size was reduced to 6" (instead of 6.5"). This decision was made to free up some weight to be allocated elsewhere, specifically the ribbing to the blades. I had two blades made for DDT v2 and both of them were horribly bent after the year or so they have been in service. The newer blade design beefed up the sections by about 1.5x and were still lighter than the old blades.

The new blade stacked atop the old blade demonstrates their difference in diameter

Second, more armor was added to the body. This decision was made after the number of hits to the pulleys and wheels. The frame parts would be thickened overall and side armor will be included. Third, the indirect drive was ditched in favor of direct drive to 22:1 silver sparks with cushy foam wheels. The small brass micro gearmotors proved to be unreliable and the ratios I was using were far to mild to be maneuverable. The original DDT used roughly 20:1 gearboxes and had superior mobility. Finally, the blade material was changed. This time I wanted to use prehard materials because my attempts to harden were subpar. The standard 6" blades were waterjet from 60C hard 1075/74 spring steel. An alternate set of blades were made for specific types of opponents. These were also made from different materials and had different geometries.

Standard Blade (left) and Bash Blade (right)

Fabrication

The frame took nearly 36 hours to print! The printer is currently admittedly slow, especially with the addition of fiber. While the frame could certainly have used more fiber, I decided to optimize for more "height" of fiber than depth and so all layers had fiber but only select layers had full layers.

DDT v3 unibody frame as seen in "eiger"
DDT v3 unibody frame as printed on the Markforged Mark One Printer

The frame needed some cleaning to allow the proper fit of parts. Any undercut features were finished with a rotary tool sanding bit to clean up areas were support structures were placed. This was critical for the drive motors, screw holes, and other components to be placed.

Fingertech Spark gearmotor embedded into the frame

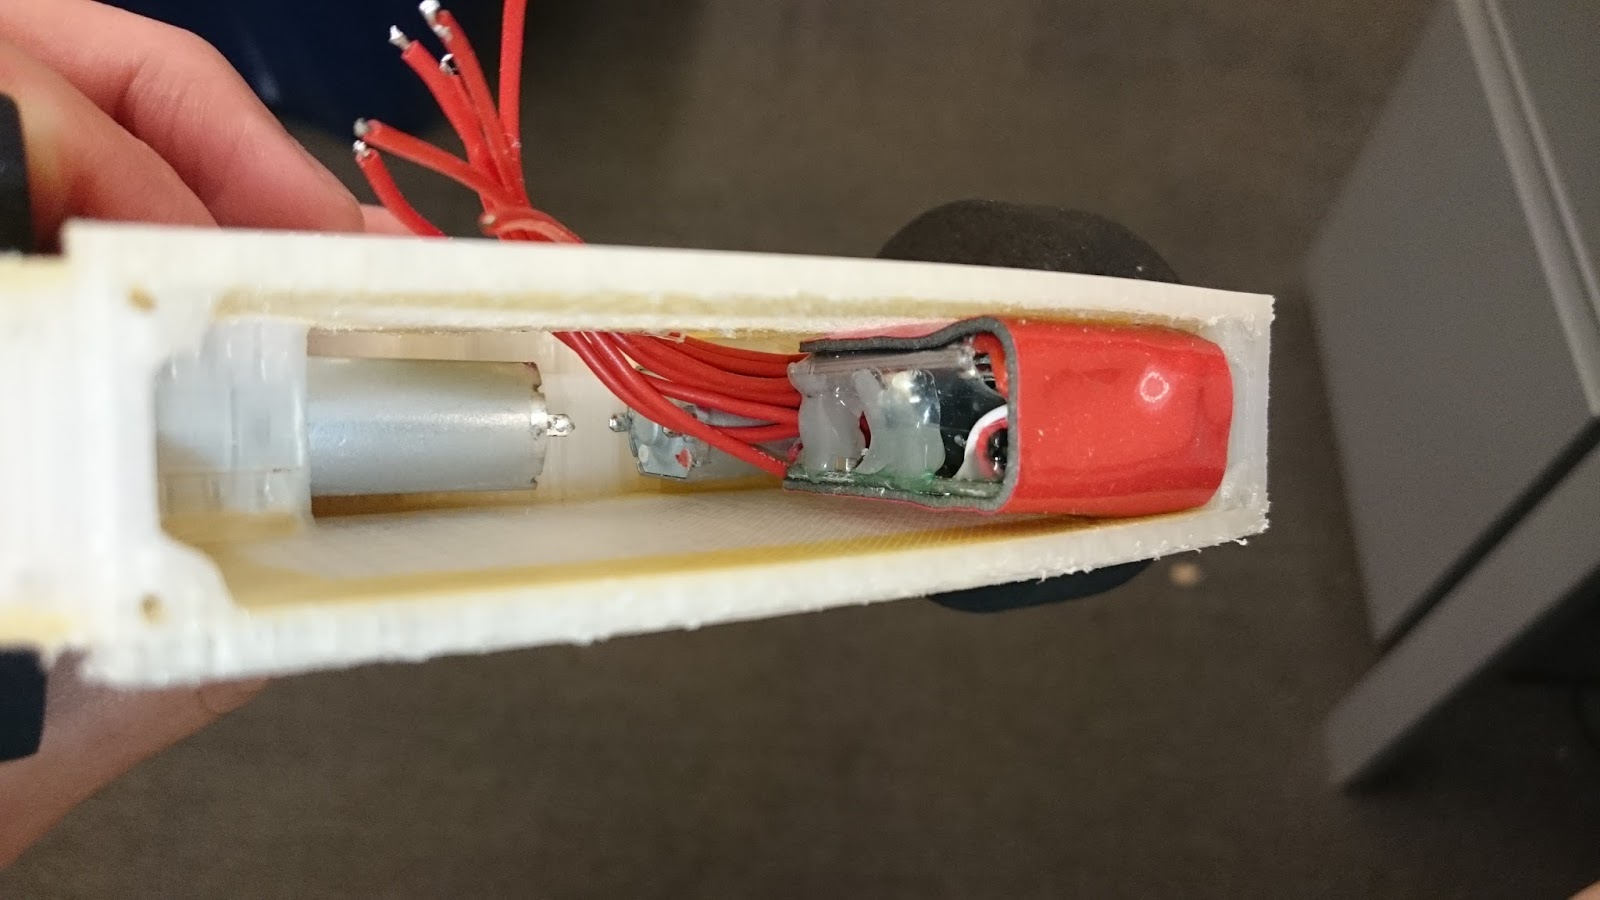
The critical electronics were packaged into a small cube that I designed using my expert level tetris skills. This small cube contains an Orange RX receiver, a Turnigy Plush 10 ESC for the weapon, and two Vex 29 motor controllers for each spark motor.

DDT v3 electronics cube contains three ESCs and a receiver and is about 1" x 1.125" x .75"

The electronics cube is intended to fit in the frame like so.

Placement of the electronics cube within the frame

The motor was recycled from v2 and the robot was wired. No dedicated power switch was used since I have had bad luck with the Fingertech switches lately and was feeling skeptical; in lieu of this, I elected to use a direct connection to the battery.

The blade and pulley interface were modified as well. Instead of placing the bearing directly within the bore of the blade as done previously, both bearings would be placed in the hub and the blade would be bolted to the pulley. A round feature on the pulley would mate the blade concentrically with the pulley. This method is better because it allows the blades to be swapped without disassembling the entire shaft assembly, it reduces misalignment because the skew is no longer dependent on the alignment of the blade and pulley, and it reduces the shock of the bearings by placing a softer medium between the bearing OD and the blade.

Illustration of the blade-pulley interface

Lastly, side armor was made to fit wrap around  the sides. These were cut from 0.0625 polycarbonate which is tough yet flexible. However at this short length and thickness the sides were difficult to put on and heavily preloaded. I do not have especially high hopes for these; in anticipation, I made several copies.

DDT v3 with an older 4130 Blade

DDT v3 featuring the newer 1074/75 blade

Final weight was 15.5 oz! A very comfortable weight and some wiggle room to improve.

Preliminary performance

DDT had the opportunity to smash a number of items. However none of them actually weighed a pound. Still, these tests demonstrated remarkable damage to UHMW, aluminum, and even other 3D printed Nylon parts. I couldnt think of a better way to send off the v2 frame permanently!


Dragon Con 2015 Microbattles

DDT v3's debut was at Dragon Con 2015 where it had four matches and went 3 wins, 1 loss. I am extremely happy with its performance and the resiliance of the printed frame. I half expected the weapon shaft bore to open up after so many hits (including arena wall hits) but it remains as true as when it was first made, probably due in part to the heavy kevlar fill around the critical dimensions. DDT's fights are embedded below. I was very lucky to not fly out of the pit on several occasions but unfortunately my luck ran out when a solid hit on Algos sent DDT flying into the pit.


DDT took some damage from Green Reaper when he climbed over the blade and began chewing on the frame. I was surprised to see that not much damage was done but only because my blade was keeping him from pushing into the frame otherwise more damage would surely have been done; some of the fiber is exposed which means he got about 0.6 mm deep. Both of the wheel guards exploded against Algos but I was able to leave a nice mark in his 0.0625 thick Ti before flying out.

Post-Algos picture
Green Reaper damage


Damage to Algos
Bent Ti side on Algos


 I want to find more opportunities for DDT to challenge other antweights. There are two competitions nearing in October; I will try my hardest to bring DDT there. Stay tuned!


Friday, September 5, 2014

Bug Love Robot: MegatRON for Dragon Con

I sense a change in the winds! Seriously, its getting cooler. That means Summer is ending but more importantly signaling the arrival of Dragon Con, my annual pilgrimage to Atlanta, GA to visit friends and fight robots at the Robot Battles and MicroBattles Contests. Last year I brought DDT and Dead Meat (formerly Turboencabulator) but with Dead Meat, well, dead I needed another entrant to take over the main event. Luckily I had built a mega version of my original beetleweight, Ron, and could think of many ways to make him worthy of the stage.
_________________________________________________________________________________

After Motorama
MegatRON was pretty sad offensively  after Moto. In its fight vs Shaka, the dustpan was wrecked. Although Adam helped reweld the pan for the rumble, the pan was once again split open by Hyperactive and . To make matter's worse the saw arm motor smoked when I was using it as a hammer. It had a pretty sad ride back home next to the nearly victorious Uberclocker. Maybe some of that luck will rub off on it next time?


Uh... a bit more than rub off.
_________________________________________________________________________________

The Love Robot
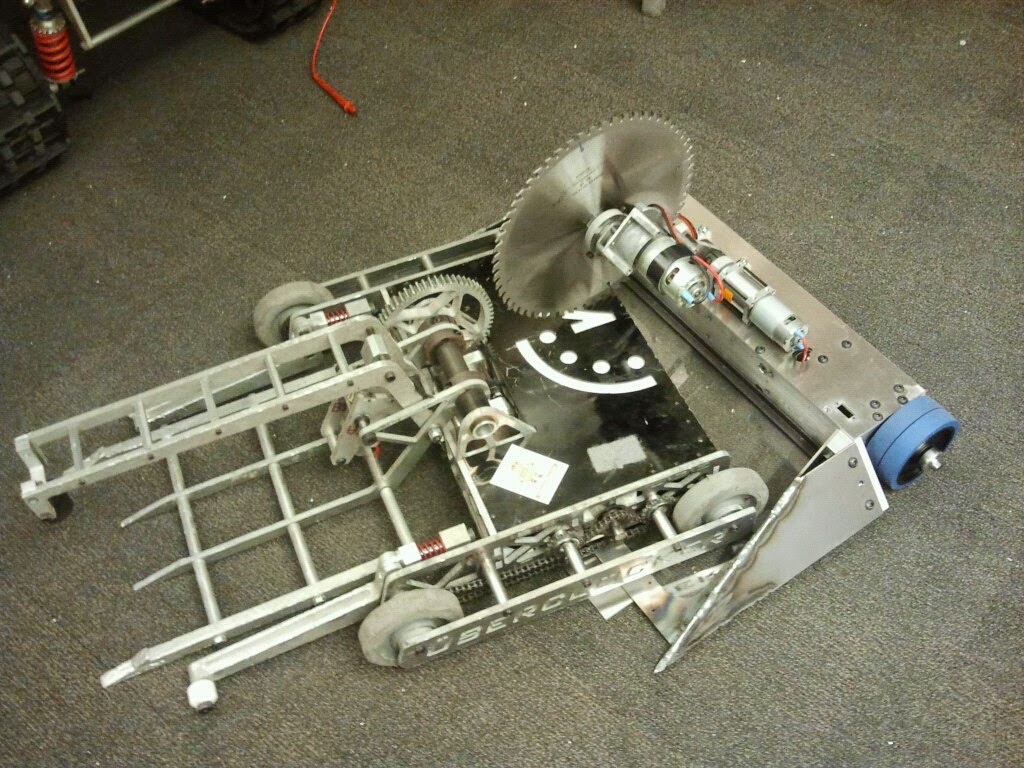
To satisfy the rules of Robot Battles, the robot had a tip speed limit for all spinning weapons. This meant that the saw cutter could no longer be used with its current configuration. Instead I opted for a lifter and clamper mechanism similar to that of Uberclocker but utilizing the same hardpoints on MegatRON and general dustpan shape. After a first-pass concept, I flushed out the below design:


Looks too much like Uberclocker to me although the components are different. This design uses dual Banebots P60 132:1 gearmotors with RS550 motors. At ~10 inches from the pivot point, this configuration should have tons of lifting torque at the tip and more than enough speed to boot.

Additionally, I was feeling extremely lazy at the time. Not only was I taking courses and doing research but I had an industry short course of my own to teach and a conference the following weeks that needed a poster that I had not made yet. In short, I was strapped for time. If I didnt have the gearmotors on hand for the project, It couldnt be done.


This design turned out to be more feasible. Say, what is that beastly box object tied to the main lift pan?

It is a Tonegawa PS-050 super ultra mega cray servo! I found this sifting through old FIRST and decided to give it new life. This guy would make the top clamp arm at over 1200 oz-in of torque!

However, the servo has plastic gears which are still concern for stripping, especially in this high torque application where backdriving is a possibility. Similar to the lifting pan, I will integrate a slip clutch to relieve the servo under torque but also use spring steel strips as the gripper mechanism. My hope is that the flexibility of the steel is enough compliance to prevent damage to the servo.

The real challenge was converting the servo horn into a more useful medium. I had two options. The first involved milling a relief into the face of a shaft to match the servo horn geometry such that the horn could essentially sit in the relief and transfer torque by twisting against its features. The second option involved modifying the horn to essentially emulate these servo spine shafts from Servo City. I decided towards the latter for ease of support. Below, I describe the steps I used to create the part.

First I turned the horn into a round. No particular diameter, but the more nylon meat the better.


Next I counterbored both ends of the ceramic-coated aluminum shafting. One end should press fit the nylon servo spline but the other end diameter mattered less since that feature is only meant to pass the head of the servo horn screw. In this case, I needed a through diameter for the head of an M4 screw.


I pressed them together and drilled a #2 radial set screw for good measure. I could now assemble the servo shaft assembly.


After machining a few thousand standoffs, the weapon comes together with some long tie rods.


The top clamp servo is also mounted with standoffs. Now I can add the clamp clutch and clamp arm!


Pretend-o-bot! Looking good so far!

Very little would change with regards to electronics. I removed one of the 85A bot bitz escs since a single esc could power both lifter motors. To connect them together I utilized what I call the "shotgun connector".


I mean a double barrel bullet connector could be a shotgun right? Id love to see someone scale this into a six-shooter or something...

The servo is beastly enough that it would need far greater current than the 500mA or so from the ESC BEC. However, with a 12V max limit, I would need a method of stepping down the main battery voltage. Luckily, Charles had experiemented with DC-DC converters for herpy nano bike. He simply used a BEC and changed the feedback resistor. This tricks the converter into supplying higher voltage but at the expense of current.

After those changes it was time for a test! Seems to pass.


The robot wheelies very hard on accelerating which makes scooping robots or object very difficult. However should it happen the pan turns out to be incredibly quick! It is a standalone flipper!


Later that evening, Charles finished up his modifications to Uberclocker so we decided to spar.


From the video, you can easily see how detrimental the wheelies are. Most times, I jump right into his grabber. However, should I keep mobile the robot is still very maneuverable and has lots of flipping potential.

Aside from the expected scuffs, the robot took no damage and performed as expected. From this point on, I decided to tidy up the wiring and take the finish shots.


And this concludes the build report for.... what am I naming this thing again!?

Charles and I agreed the robot looked like a bug, with the red grippers being eyes or the spring steel strips being antennae. This immediately turned towards one of our favorite inside jokes, "bug love tree". This phrase was uttered by a professor during a robotics competition using broken English and has been cherished by us ever since only to rival that of "control systems potato". Change tree into robot and ship it. "Bug Love Robot", perfect.

How much love with Bug Love Robot give at Dragon Con? Read the event report to find out!

Saturday, September 8, 2012

Dragon Con: Prep, Ready, and Deploy

Every year, my friends and I bring a plethora of robots to compete at Dragon Con's Robot Battles competition. It includes 1 and 3 pound robots for their Microbattles segment on Sunday, and 12 and 30 pound sumo robots for their main event on Monday.

As tradition, out entries must consist of several "assbots" among our serious entries.

Wheel! (Colson Bot)
After four years of being relatively invincible, I have decided to force-retire DDT. Replacing it at Dragon Con will be the beloved assbot dubbed "Colson Bot".

In the mid-2000's, the arena hazard for micro battles was a colson wheel attached to the output of an angle grinder. It was well known for its overpowering hits that often determined the outcome of the matches. Colson Bot was designed to look and function very similarly... without the stability of being bolted to the ground.

Being an assbot, I had determined that the budget would be minimal. Luckily I had just disassembled DDT and Prop Quiz which left me with several options for controllers and motors. I elected to recycle the gearmotors from Prop Quiz and the electronics from DDT.

There were two main steps to the design: finding a colson that could be bored large enough to fit the electronics and making a chassis small enough to fit in that bore. Given I had already selected my parts, I decided to reverse order design and build the chassis first.


Treads would have been ideal to maximize traction, but could not be done with the space constraint. Instead, the design used is pictured above. The robot is designed in layers. The bottom layer (including the wedge) is 3D printed out of PLA on one of the Invention Studio Ultimakers. The top section is waterjetted polycarbonate screwed on from the bottom of the robot. This top section mounts the Esskay 400xt brushless motor that directly drives the colson wheel (not pictured). I fully expect the 3D printed chassis to snap somewhere.

Colson Bot went together very quickly. I had only 8 holes to countersink and a few things to wire.


...and functionality tests.


Quick enough certainly. I'm dissatisfied with the acceleration of the robot, but once again I play the "apathy via assbot" rule. I have also yet to achieve maximum speed. the robot lifts off and goes unstable before I can spin it high enough. Although the esc braking function provides an interesting way to escape bad situations.


After a quick paint job, lets call it complete.

Dominant Mode
Clash of the Bots 3 showed me a few aspects of the robot that were not ideal:
  • The unreliability of Spektrum technology
  • The ineffectiveness of UHMW anti-wedge slips
  • Something resulting in periodic signal loss
  • Custom brushless drum subject to axial shifts
For now, we will waive off the Spektrum issue since it seem to have corrected itself somehow. The anti-wedge slips will be replaced by a few alternatives. 


I drew up this design awhile back. It uses a set of Titanium forks to get under opponents. I favorite this design because it leaves nice sharp points to get under wedges and are not dependent on the position of the other wedge tips. This is a good feature to have in case part of the wedge incurs damage; the other fine points will not be affected.

Others have recommended that I simply bend some blue-tempered spring steel. Since one option was clearly easier than other other, I decide to try waterjet machining some of the 0.01" spring steel stock I had bought for Razor Reloaded.

To prevent the drum shifting, I laser cut a thin ring of acrylic. This will keep the outer bearing from shifting off the mount. For Robot Battles, this should be fine as long as I don't fight and horizontal spinners. For future competitions, I will probably upgrade to a more ductile material like polycarbonate or polyethylene. 

In previous experience with Cake, my first explanations to the radio cutoff was a short between the ground and +5V lines somewhere in the receiver. For Cake, this would usually occur around the drum shaft, where the drum shaft ID would eat through the insulation and contact the PWM wires. For Dominant Mode, no such symptom was to be seen since all the electronics were contained within the body this time. I though perhaps the motor windings were shorting somewhere again, but drive independent tests confirmed otherwise. What ended up being the concluded culprit was the receiver. I had Adam Bercu of Busted Nut Robotics pick up a Spektrum AR6115e on his way down to Atlanta, which solved the problems.

Turboencabulator
What in the world is a turboencabulator? Few people know, but it sounds pretty complicated even though the only new principle involved is power production from the modial interaction of magneto-reluctance and capacitive directance. 

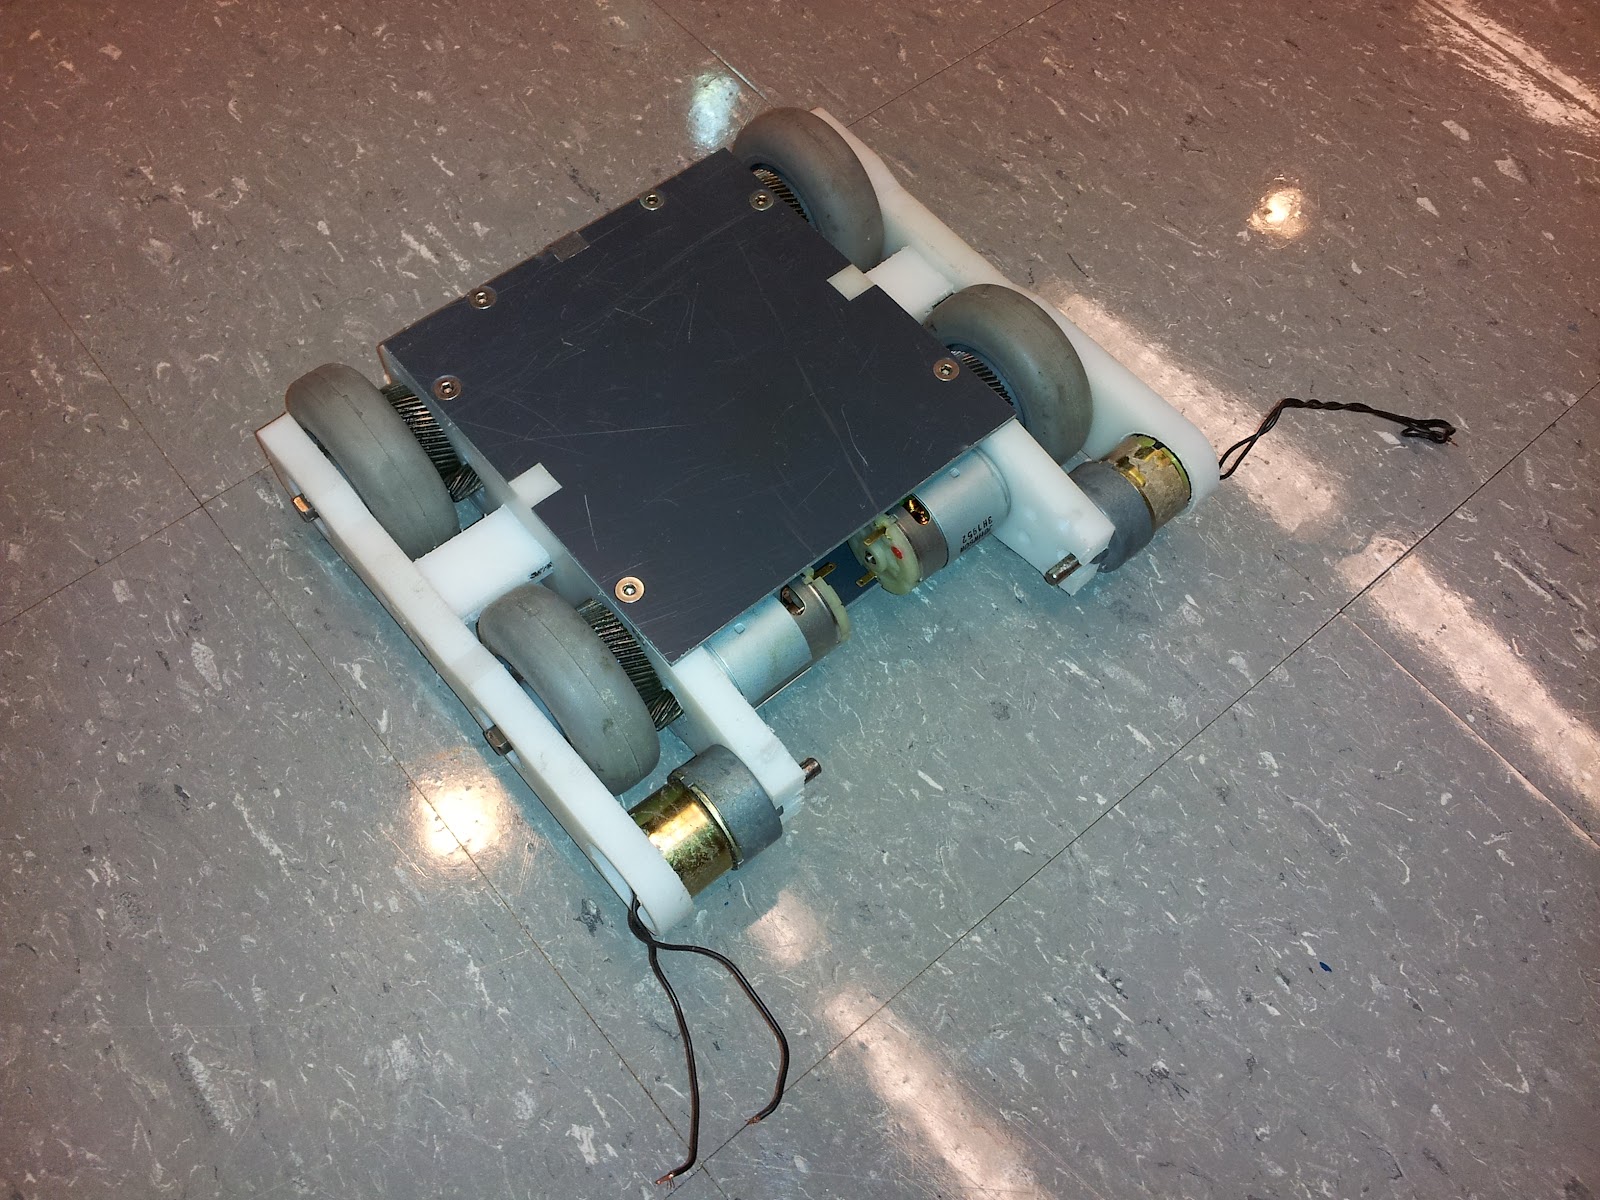
It is a sub-ass bot designed to go fast. I want it to be good yet require minimal spending on my part so many of the parts will be recycled from random things. The basic idea was to create a sturdy 4-wheel drive base and incorporate some simple active weapon on it. 

I was originally intending on using some 860-sized Johnson motors on some 5:1 gearboxes I had, but I would only be able to use two of them and 4-wheel drive with chain would have become costly very quickly. Instead I opted for some low RPM (high kt) 540-sized motors from surplus center. These guys put out a whopping 62 oz-in/amp! Combined with the 5:1 gearboxes on 3" wheels, I could move 24lbs while only drawing 16 Amps continuous. Sounded like an ideal duty for my Banebots 12-45 ESCs that havent seen action since 2008.


The 5:1 gearboxes were salvaged from the Hitachi copier motors that we previously purchased for stator grabs. We had maybe 6-7 of them on hand and since they included bearings it was idea for a low cost solution. Pinions were made from the motor-side shafting by rough cutting them to length, facing them, and then boring them on the lathe. The arbor press finished the installation process.


The 30A Mcmaster bots wheels were pressed directly on the shaft of the output gears. This assembly was suspended in between two frame rails made of HDPE (for now). 


From there, the robot quickly went together.

The Turboencabulator sans roller weapon.


However, did not fair well in some sparring.


The Carly Rae Jepsen Wallbanger puts a nice one into Turbo's side.


The hit actually smashed in a roller motor and deformed the HDPE enough to cause plastic deformation. So the robot was upgraded with steel outer panels thanks to Adam once again.

Intermisssion: Other happenings during the Dragon Con prop week.
Fun things to do with 30 pound combat robots:


The MIT crew bought over 14 power tools from Harbor Freight to hack into robot drives.

Greg bot (Critical Space Item). It has the drive train of a 12 pound robot.

Competition: Sunday
There wasn't much to say about Micro battles because the competition did not last long. It was originally a double elimination tournament but due to the record number of competitors and truncated time allotment for the ballroom, they decided to switch tournament types mid-way through.

Dominant had only one opponent before driving through the pit. Here is the footage.


Turns out the hotter wound motor is too fast. With the spring steel wedglets gripping the floor, I couldn't get enough ground speed to bite into the opponent. The first match shows robot milling while the second match shows more effective biting from 30% throttle.

The second match also shows why I should stop trying to push opponents into the pit. Fail.

Colson bot did not receive the same recognition as I had expected because the EO was rushing. Here is the result.


Without an e-clip on the motor, the top comes off and splays itself around the arena.

Competition: Monday
Arrived nice and early to talk jabber with the other builders.


Turbo was ready to go, fully charged and sporting its new A-36 side plates. It weighed 11.5 lbs.


Our friends from the north were already there with a beautiful array of 30 pound robots.


Dale Heatherington brought the competition's first fully autonomous robot, Scary-Go-Round. It is able to track the opponent and stage boundaries while constantly rotating. Quite an amazing robot.

Turbo had the first match of the competition against a solid block robot named Ice Cube.


The rollers worked perfectly! Between the higher RPM 2" colsons and the 3" mcmaster bot wheels for drive, I was able to "dribble" my opponent on top of my robot for the perfect delivery. Match 1-3 was a great display of control over the opponent.

Unfortunately, match 2 was not as lucky. I was pitted against a robot named Tilla the Hun, which used a very similar principle to turn over other bots.


He had wire brushes for wheels which gave him superior traction on the carpeted surface. I though perhaps my ramming mass alone could push him back but he had superior traction.

For the rest of the competition, I aided with Charles' and Adam's robots since they had some major repairs between matches. One of which resulted in Uberclocker Ubershanker.


That is my $15 katana strapped to the clamping arm of Uberclocker to try and compensate for its broken lifter spatula. It actually worked vs a match against Pinball, as it lodged perfectly in between the body and top plate.

Turbo's final appearance was in the 12 pound rumble where it once again showed its ability. Because Michael Jeffries of Near Chaos Robotics swept both events, I was gunning for him but Apollyon's quick drive train kept it a chase the entire time.


Conculsions
Overall, the competition was a personal fail considering my experience but it was a nice change of pace. I was able to experience the relaxing end of robot combat with the best seats in the house (backstage). I'll be thinking about new designs for future competitions. The next competition believe is the Atlanta Mini Maker Faire (October 6th) and Chattanooga Robot Battles.

I'm dreaming of a 12-pound Uberclocker...